・GitLabにサーバ証明書を設置してHTTPS化したい。
・具体的な手順を教えてほしい。
こういった疑問に答えます。
本記事の内容
この記事を書いている私は、某SIerに勤務しながら、
WEB系エンジニア・インフラエンジニアに憧れて、プログラミングおよびインフラ技術の勉強をしています。
こういった私が、解説していきます。
私が実機で試したコマンドや画像を載せて書いています。
記事の信頼性担保に繋がると思います。
GitLabにサーバ証明書を設置してURLをHTTPS化する手順
手順①:サーバ証明書を入れるディレクトリを作成
mkdir /etc/gitlab/ssl
手順②:サーバ証明書ファイルと秘密鍵ファイルを配置
/etc/gitlab/ssl/gitlab.planet.space.com.crt
/etc/gitlab/ssl/gitlab.planet.space.com.key

手順③:設定ファイル「gitlab.rb」の変更
vi /etc/gitlab/gitlab.rb
external_urlをHTTPS~に変更
## GitLab URL
##! URL on which GitLab will be reachable.
##! For more details on configuring external_url see:
##! https://docs.gitlab.com/omnibus/settings/configuration.html#configuring-the-external-url-for-gitlab
##!
##! Note: During installation/upgrades, the value of the environment variable
##! EXTERNAL_URL will be used to populate/replace this value.
##! On AWS EC2 instances, we also attempt to fetch the public hostname/IP
##! address from AWS. For more details, see:
##! https://docs.aws.amazon.com/AWSEC2/latest/UserGuide/instancedata-data-retrieval.html
external_url 'https://gitlab.sv-mars.planet.space.com'
nginx['ssl_certificate']とnginx['ssl_certificate_key']を変更
################################################################################
## GitLab NGINX

# nginx['enable'] = true
# nginx['client_max_body_size'] = '250m'
# nginx['redirect_http_to_https'] = false
# nginx['redirect_http_to_https_port'] = 80

##! Most root CA's are included by default
# nginx['ssl_client_certificate'] = "/etc/gitlab/ssl/ca.crt"

##! enable/disable 2-way SSL client authentication
# nginx['ssl_verify_client'] = "off"

##! if ssl_verify_client on, verification depth in the client certificates chain
# nginx['ssl_verify_depth'] = "1"

# nginx['ssl_certificate'] = "/etc/gitlab/ssl/#{node['fqdn']}.crt"
nginx['ssl_certificate'] = "/etc/gitlab/ssl/gitlab.planet.space.com.crt"
# nginx['ssl_certificate_key'] = "/etc/gitlab/ssl/#{node['fqdn']}.key"
nginx['ssl_certificate_key'] = "/etc/gitlab/ssl/gitlab.planet.space.com.key"
手順④:設定変更後の反映
gitlab-ctl reconfigure
手順⑤:GitLabの再起動
gitlab-ctl restart
[root@SV-MARS ssl]# gitlab-ctl restart
ok: run: alertmanager: (pid 1278353) 0s
ok: run: gitaly: (pid 1278360) 0s
ok: run: gitlab-exporter: (pid 1278374) 0s
ok: run: gitlab-workhorse: (pid 1278376) 0s
ok: run: grafana: (pid 1278383) 0s
ok: run: logrotate: (pid 1278401) 1s
ok: run: nginx: (pid 1278407) 0s
ok: run: node-exporter: (pid 1278412) 1s
ok: run: postgres-exporter: (pid 1278416) 0s
ok: run: postgresql: (pid 1278432) 0s
ok: run: prometheus: (pid 1278436) 0s
ok: run: puma: (pid 1278444) 1s
ok: run: redis: (pid 1278455) 0s
ok: run: redis-exporter: (pid 1278460) 0s
ok: run: sidekiq: (pid 1278468) 1s
手順⑥:HTTPSでアクセスできることを確認
https://gitlab.sv-mars.planet.space.com
「https://~」のURLでアクセスができて、Chromeブラウザのアドレスバーに鍵マークが表示されました。


手順⑦:Git for Windowsに認証局を追加
参考サイト
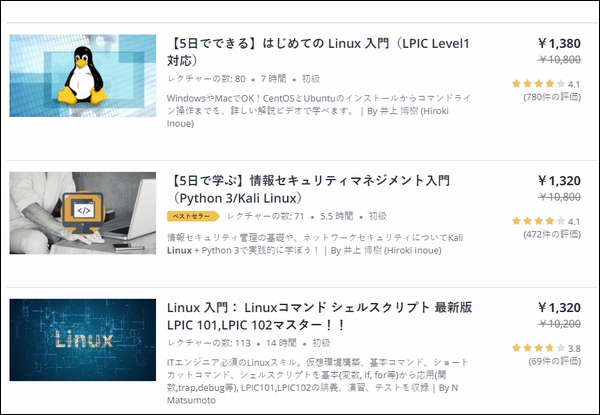
インフラエンジニアの勉強ができるオンライン学習サイト
Udemy (オンライン動画学習サイト)
Udemy(ユーデミー)は、オンラインで動画で学習できるサービスです。
ITエンジニア系の講座もたくさん公開されています。
Udemyの特徴
- ユーザー登録すれば、第1回の講座は無料で視聴できる
- 無料のコンテンツもある
- 過去に受講した人の人数や、受講した人の評価も表示されるので選びやすい