ESXiにUSBのNICを物理NICとして認識させる方法
・ESXiにUSBのNICを物理NICとして認識させる方法を知りたい。
・具体的な手順を分かりやすく教えてほしい。
こういった疑問に答えます。
本記事の内容

この記事を書いている私は、某SIerに勤務しながら、
WEB系エンジニア・インフラエンジニアに憧れて、プログラミングおよびインフラ技術の勉強をしています。
こういった私が、解説していきます。
私が実機で試したコマンドや画像を載せて書いています。
記事の信頼性担保に繋がると思います。
ESXiにUSBのNICを物理NICとして認識させる方法
用意したもの
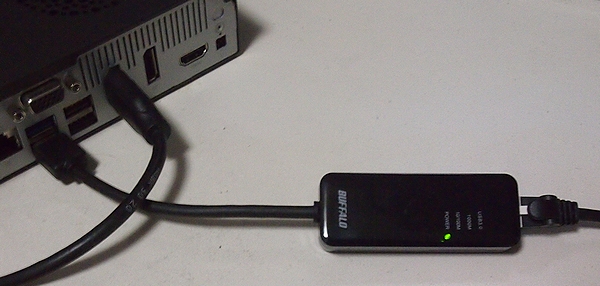
USB3.0用LANアダプター (BUFFALO LUA4-U3-AGTE-NBK)


 | BUFFALO 有線LANアダプター LUA4-U3-AGTE-NBK ブラック Giga USB3.0対応 簡易パッケージ 日本メーカー 【Nintendo Switch動作確認済み】 |
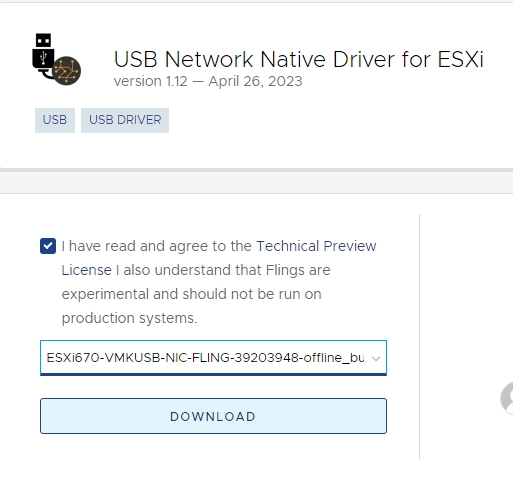
USB NICドライバ
以下のページからダウンロードします。
プルダウンで、ESXiのバージョンに対応したzipファイルを選択

「DOWNLOAD」をクリック
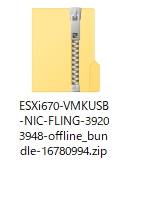
zipファイルがダウンロードできました。
ESXi670-VMKUSB-NIC-FLING-39203948-offline_bundle-16780994.zip
USB LANアダプターをマシンに接続
「AX88179 Gigabit Ethernet」が認識されているのがコマンドで確認できます。
lsusb
[root@SV-VEGA:~] lsusb
Bus 001 Device 004: ID 0b95:1790 ASIX Electronics Corp. AX88179 Gigabit Ethernet
Bus 001 Device 003: ID 05e3:0723 Genesys Logic, Inc. GL827L SD/MMC/MS Flash Card Reader
Bus 001 Device 002: ID 05e3:0608 Genesys Logic, Inc. Hub
Bus 003 Device 002: ID 8087:8000 Intel Corp.
Bus 002 Device 002: ID 8087:8008 Intel Corp.
Bus 003 Device 001: ID 0e0f:8002 VMware, Inc. Root Hub
Bus 002 Device 001: ID 0e0f:8002 VMware, Inc. Root Hub
Bus 001 Device 001: ID 0e0f:8003 VMware, Inc. Root Hub
USB NICドライバをインストール
ESXiの適当なディレクトリにzipファイルをアップロード

インストールコマンド実行
esxcli software vib install -d /tmp/ESXi670-VMKUSB-NIC-FLING-39203948-offline_bundle-16780994.zip
[root@SV-VEGA:~] esxcli software vib install -d /tmp/ESXi670-VMKUSB-NIC-FLING-39203948-offline_bundl
e-16780994.zip
Installation Result
   Message: The update completed successfully, but the system needs to be rebooted for the changes to be effective.
   Reboot Required: true
   VIBs Installed: VMW_bootbank_vmkusb-nic-fling_2.1-6vmw.670.2.48.39203948
   VIBs Removed:
   VIBs Skipped:
ESXiホストを再起動

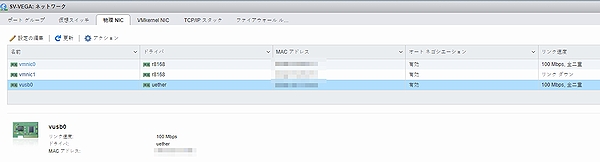
再起動後の確認
物理NICに「vusb0」という名前で追加されました。
esxcfg-nics -l
[root@SV-VEGA:~] esxcfg-nics -l
Name    PCI          Driver      Link Speed      Duplex MAC Address       MTU    Description
vmnic0  0000:02:00.0 r8168       Up   100Mbps    Full   xxxxxxxxxxxxxxx 1500   Realtek Semiconductor Co., Ltd. RTL8111/8168/8411 PCI Express Gigabit Ethernet Controller
vmnic1  0000:03:00.0 r8168       Down 0Mbps      Half   xxxxxxxxxxxxxxx 1500   Realtek Semiconductor Co., Ltd. RTL8111/8168/8411 PCI Express Gigabit Ethernet Controller
vusb0   Pseudo       uether      Up   100Mbps    Full   xxxxxxxxxxxxxxx 1500   ASIX Elec. Corp. AX88179
仮想スイッチに追加
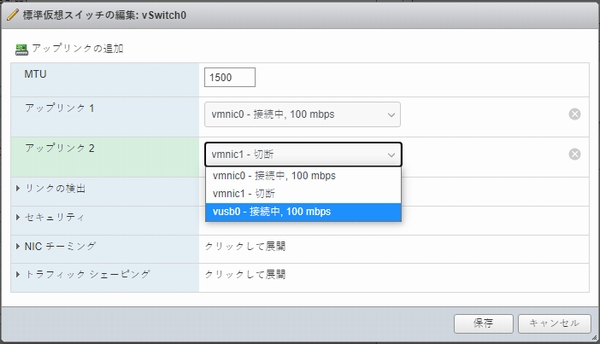
vSwitch0の「アップリンクの追加」
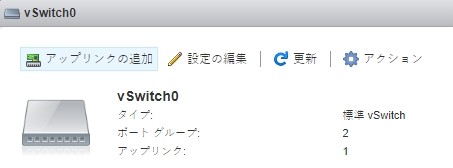
vusb0を追加
追加前
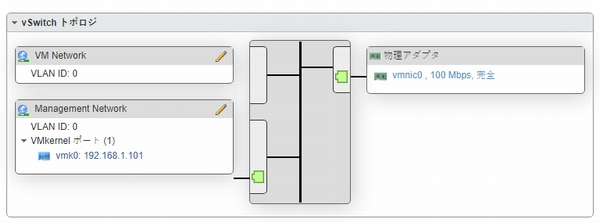
追加後

ESXi起動スクリプトの修正
/etc/rc.local.d/local.sh
[root@SV-VEGA:/etc/rc.local.d] cat local.sh
#!/bin/sh

# local configuration options

# Note: modify at your own risk!  If you do/use anything in this
# script that is not part of a stable API (relying on files to be in
# specific places, specific tools, specific output, etc) there is a
# possibility you will end up with a broken system after patching or
# upgrading.  Changes are not supported unless under direction of
# VMware support.

# Note: This script will not be run when UEFI secure boot is enabled.

vusb0_status=$(esxcli network nic get -n vusb0 | grep 'Link Status' | awk '{print $NF}')
count=0
while [[ $count -lt 20 && "${vusb0_status}" != "Up" ]]
do
    sleep 10
    count=$(( $count + 1 ))
    vusb0_status=$(esxcli network nic get -n vusb0 | grep 'Link Status' | awk '{print $NF}')
done

esxcfg-vswitch -R

exit 0