


・NICドライバを追加したESXi7のCustom Imageを作成する手順を知りたい。
・具体的な手順を分かりやすく教えてほしい。
こういった疑問に答えます。
本記事の内容
- NICドライバを追加したESXi7のCustom Imageを作成する手順

この記事を書いている私は、某SIerに勤務しながら、
WEB系エンジニア・インフラエンジニアに憧れて、プログラミングおよびインフラ技術の勉強をしています。
こういった私が、解説していきます。
私が実機で試したコマンドや画像を載せて書いています。
記事の信頼性担保に繋がると思います。
NICドライバを追加したESXi7のCustom Imageを作成する手順
用意するもの① ESXi-Customizer-PS
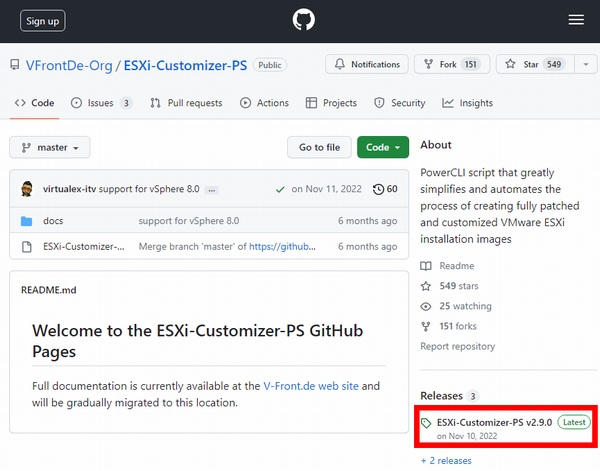
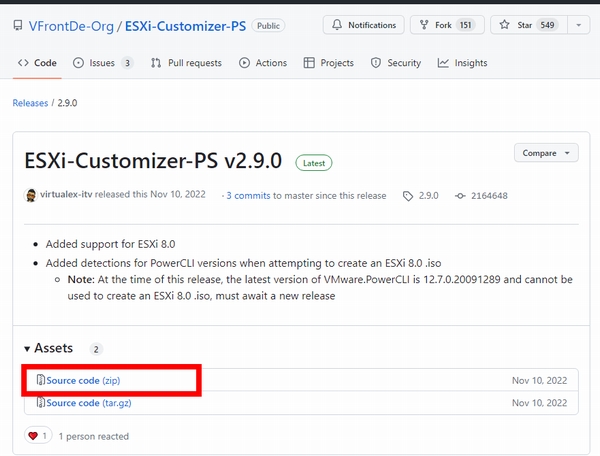
「ESXi-Customizer-PS」をダウンロードします。
本記事を書いた時点での最新は、「v2.9.0」でした。
https://github.com/VFrontDe-Org/ESXi-Customizer-PS

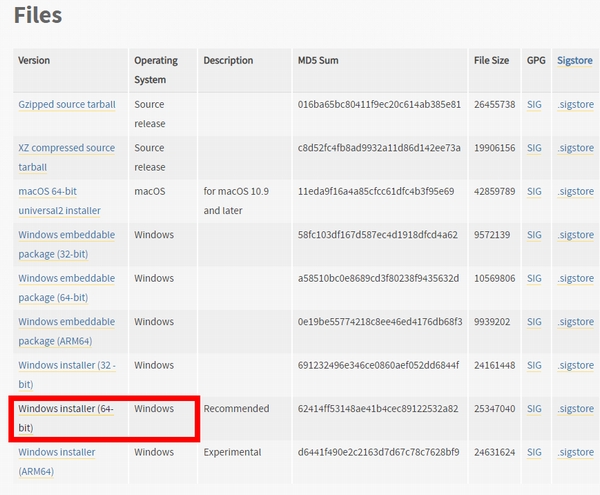
用意するもの② ESXi7のオフラインバンドル版
My VMwareからESXi7のオフラインバンドル版をダウンロードします。
https://customerconnect.vmware.com/jp/evalcenter?p=free-esxi7


VMware-ESXi-7.0U3g-20328353-depot.zip
準備すること③ PowerCLIのインストール

インストール用のコマンドをコピーします。

Windows PowerShellを「管理者として実行する」

インストールコマンドを実行
Install-Module -Name VMware.PowerCLI
PS C:\WINDOWS\system32> Install-Module -Name VMware.PowerCLI
インストール後の確認
Get-Module VMware.PowerCLI -ListAvailable
PS C:\WINDOWS\system32> Get-Module VMware.PowerCLI -ListAvailable


    ディレクトリ: C:\Program Files\WindowsPowerShell\Modules


ModuleType Version    Name                                ExportedCommands
---------- -------    ----                                ----------------
Manifest   13.1.0.... VMware.PowerCLI
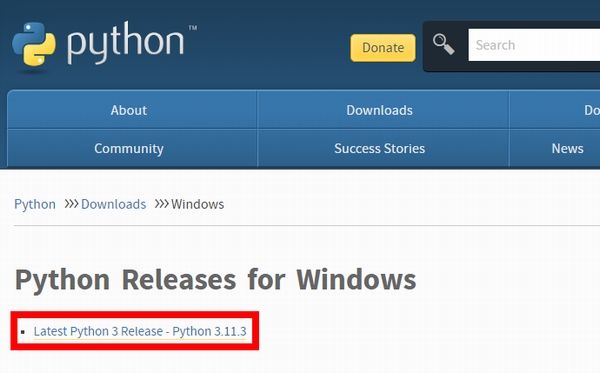
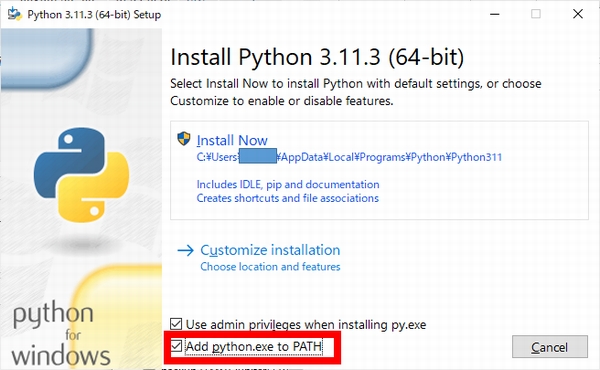
準備すること④ Pythonのインストール
以下の記事を参考に進めます。
Pythonのダウンロード


インストーラーの実行
「Add python.exe to PAHT」にチェックを入れておきます。


インストール後の確認
python --version
py --list-paths
PS C:\WINDOWS\system32> python --version
Python 3.11.3
PS C:\WINDOWS\system32> py --list-paths
 -V:3.11 *        C:\Users\●●●●●●\AppData\Local\Programs\Python\Python311\python.exe
get-pip.py をダウンロード
https://bootstrap.pypa.io/get-pip.py

python.exe get-pip.py
PS C:\WINDOWS\system32> python.exe X:\00_APPL\python-3.11.3\get-pip.py
Collecting pip
  Using cached pip-23.1.2-py3-none-any.whl (2.1 MB)
Installing collected packages: pip
  Attempting uninstall: pip
    Found existing installation: pip 23.1.2
    Uninstalling pip-23.1.2:
      Successfully uninstalled pip-23.1.2
Successfully installed pip-23.1.2
pip3.11.exe install six psutil lxml pyopenssl
PS C:\WINDOWS\system32> pip3.11.exe install six psutil lxml pyopenssl
Requirement already satisfied: six in c:\users\●●●●●●\appdata\local\programs\python\python311\lib\site-packages (1.16.0)
Requirement already satisfied: psutil in c:\users\●●●●●●\appdata\local\programs\python\python311\lib\site-packages (5.9.5)
Requirement already satisfied: lxml in c:\users\●●●●●●\appdata\local\programs\python\python311\lib\site-packages (4.9.2)
Requirement already satisfied: pyopenssl in c:\users\●●●●●●\appdata\local\programs\python\python311\lib\site-packages (23.1.1)
Requirement already satisfied: cryptography<41,>=38.0.0 in c:\users\●●●●●●\appdata\local\programs\python\python311\lib\site-packages (from pyopenssl) (40.0.2)
Requirement already satisfied: cffi>=1.12 in c:\users\●●●●●●\appdata\local\programs\python\python311\lib\site-packages (from cryptography<41,>=38.0.0->pyopenssl) (1.15.1)
Requirement already satisfied: pycparser in c:\users\●●●●●●\appdata\local\programs\python\python311\lib\site-packages (from cffi>=1.12->cryptography<41,>=38.0.0->pyopenssl) (2.21)
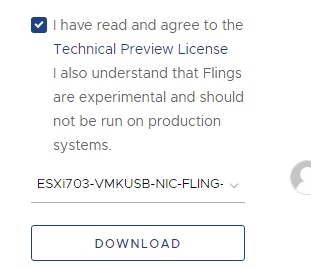
準備すること⑤ NICドライバのダウンロード
以下のページから、ESXi7に対応したドライバをダウンロードします。
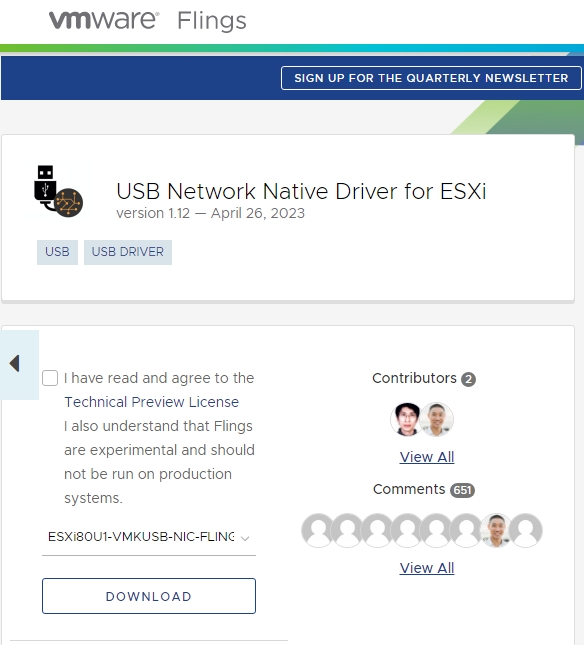

ダウンロードしたzipファイルを解凍すると、中にvibファイルが入っています。
VMW_bootbank_vmkusb-nic-fling_1.10-1vmw.703.0.50.55634242.vib
手順⑥ Custom ImageのISO作成
用意したESXi7のオフラインバンドル版のファイルと、NICドライバのvibファイルを読み込んで、
ESXi-Customizer-PSを実行して、Custom ImageのISOファイルを作成します。
PowerShellの実行ポリシーを変更
Set-ExecutionPolicy Unrestricted
ESXi-Customizer-PSを実行
.\ESXi-Customizer-PS.ps1 -iZip X:\00_APPL\ESXi7\VMware-ESXi-7.0U3g-20328353-depot.zip -pkgdir X:\00_APPL\ESXi703-VMKUSB-NIC-FLING-55634242-component-19849370\vib20\vmkusb-nic-fling
PS D:\ESXi703> .\ESXi-Customizer-PS.ps1 -iZip X:\00_APPL\ESXi7\VMware-ESXi-7.0U3g-20328353-depot.zip -pkgdir X:\00_APPL\ESXi703-VMKUSB-NIC-FLING-55634242-component-19849370\vib20\vmkusb-nic-fling

This is ESXi-Customizer-PS Version 2.9.0 (visit https://ESXi-Customizer-PS.v-front.de for more information!)
(Call with -help for instructions)

Logging to C:\Users\●●●●●●\AppData\Local\Temp\ESXi-Customizer-PS-13372.log ...
          Welcome to VMware PowerCLI!

Log in to a vCenter Server or ESX host:              Connect-VIServer
To find out what commands are available, type:       Get-VICommand
To show searchable help for all PowerCLI commands:   Get-PowerCLIHelp
Once you've connected, display all virtual machines: Get-VM
If you need more help, visit the PowerCLI community: Get-PowerCLICommunity

       Copyright (C) VMware, Inc. All rights reserved.


Running with PowerShell version 5.1 and VMware PowerCLI version 13.1.0 build 21624340

Adding base Offline bundle X:\00_APPL\ESXi7\VMware-ESXi-7.0U3g-20328353-depot.zip ... [OK]

Getting Imageprofiles, please wait ...
 [OK]

Using Imageprofile ESXi-7.0U3g-20328353-standard ...
(Dated 09/01/2022 00:00:00, AcceptanceLevel: PartnerSupported,
The general availability release of VMware ESXi Server 7.0U3g brings whole new levels of virtualization performance to datacenters and enterprises.)

Loading Offline bundles and VIB files from X:\00_APPL\ESXi703-VMKUSB-NIC-FLING-55634242-component-19849370\vib20\vmkusb-nic-fling ...
   Loading X:\00_APPL\ESXi703-VMKUSB-NIC-FLING-55634242-component-19849370\vib20\vmkusb-nic-fling\VMW_bootbank_vmkusb-nic-fling_1.10-1vmw.703.0.50.55634242.vib ... [OK]
      Add VIB vmkusb-nic-fling 1.10-1vmw.703.0.50.55634242 [OK, added]

Exporting the Imageprofile to 'D:\ESXi703\ESXi-7.0U3g-20328353-standard-customized.iso'. Please be patient ...


All done.
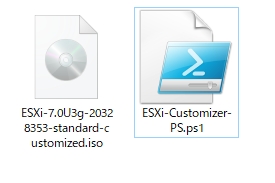
All done. と表示されたら、ps1ファイルと同じ場所に、ISOファイルが出来上がりました。
最後に、PowerShellの実行ポリシーを元に戻す
Set-ExecutionPolicy Restricted